Harper College is closed Friday, July 3, for Independence Day (Observed).
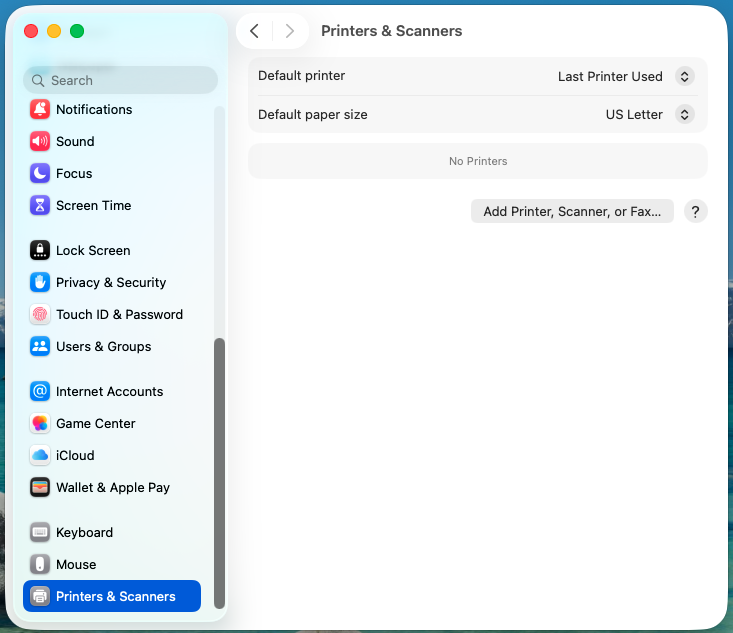
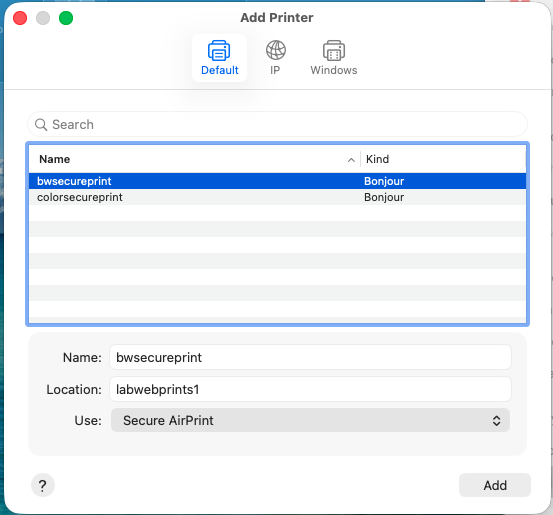
Students that wish to print on campus can utilize Papercut printers located across campus. The following guide will serve as steps to add the Papercut mobility printer on personal Mac OS devices.
Important: Connect your device to the Harper Public WiFi before proceeding with the steps below.
When printing for the first time, an authentication prompt should appear. Be sure
to enter your Harper username and password. As an option, you may check Remember this password in my keychain so that you do not have to enter it every time you print in the future and click OK.